
I. Preparation of the basics
T-shirts are sewn from cotton fabric. It, in turn, has a high shrinkage ratio. This means that you need to wash the product BEFORE embroidering.
II. Design markup
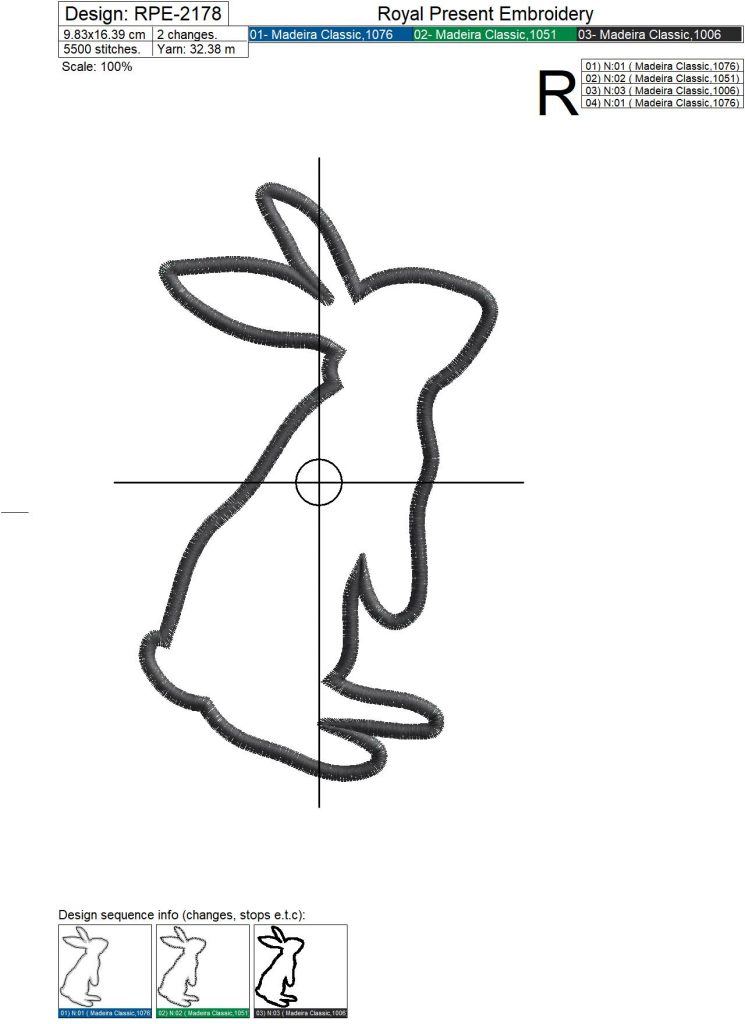
Open the information file, find the paper template, and print it. Attach to the T-shirt, retreat about 0.9-1,2 Inches from the neck. Take the air-erase pen. Transfer the points of the axes and the center point of the embroidery. Then connect them.
III. Project Stabilization
T-shirts are continually wearing and washing. So it’s better to use a cut-away stabilizer. If the fabric of the T-shirt is elastic, use temporary spray adhesive, for example, Gunold KK100.
IV. Embroidery
Load the embroidery frame into the machine. Check that the needle is in the marked center of the embroidery. Embroider the design.
V. Removal of the stabilizer
Cut off the extra stabilizer, retreating 0,3 Inches from the embroidery.
VI. Using Cloud Cover stitch
This stage is essential. Since the skin is susceptible, there may appear traces of the stabilizer. In order not to irritate the skin, use a unique web.
Cover-A-Stitch
Cloud Cover Stitch is a non-woven fabric. It glues to the fabric with a hot iron. It is essential to close the stabilization area completely. This material is very soft so that it can protect your skin.
You may also like


Author: Ludmila Konovalova
My name is Lyudmila Konovalova, and I lead Royal Present Embroidery. Embroidery for me is more than a profession; it is a legacy of my Ukrainian and Bulgarian heritage, where every woman in my family was a virtuoso in cross-stitch and smooth stitching. This art, passed down through generations, is part of my soul and a symbol of national pride.
Date: 22.01.2020

 Get Sign-In Link
 Login with Google
 Login with Facebook
 Login with Amazon
 Login with Paypal